Create a Feed
4 mins read - Updated on Oct 13, 2025Creating a Feed in Kimola lets you automatically collect online content relevant to your brand, products, or competitors — all in one place. Feeds can gather conversations from social media, forums, product reviews, and news sites, so you can track and analyze them without searching manually. This guide explains the steps to create a feed in Kimola.
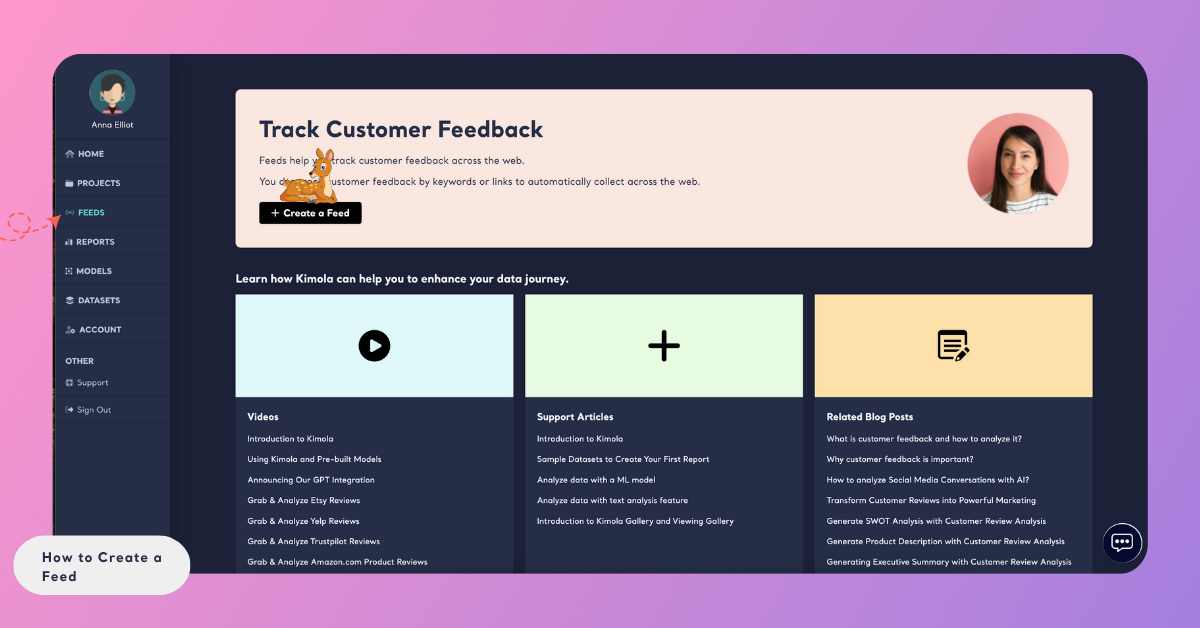
Start by signing in to your Kimola account. On the homepage, open the Feeds menu from the left panel. Then click “Create New Feed” at the top of the page.
A Feed is a customized data stream in Kimola that collects content related to your brand, products, or topics of interest from sources like social media, forums, news sites, and e-commerce product reviews. For more details, see "What is a Feed".
You can create a feed named “Vitamin Supplements” with keywords like “collagen”, “biotin”, and “Omega-3” to capture consumer conversations from Twitter (X) and collect product reviews through links added from e-commerce platforms.
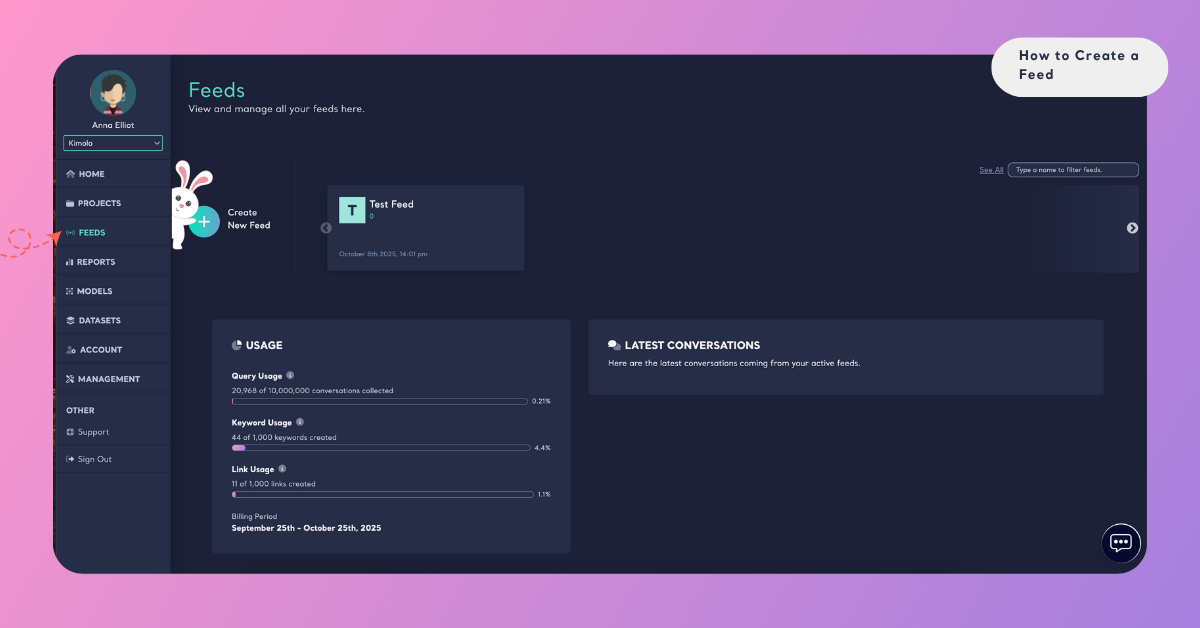
If you have previously created a feed or feeds; click the "Create New Feed" button in the top left corner of the feeds page to start a new one.
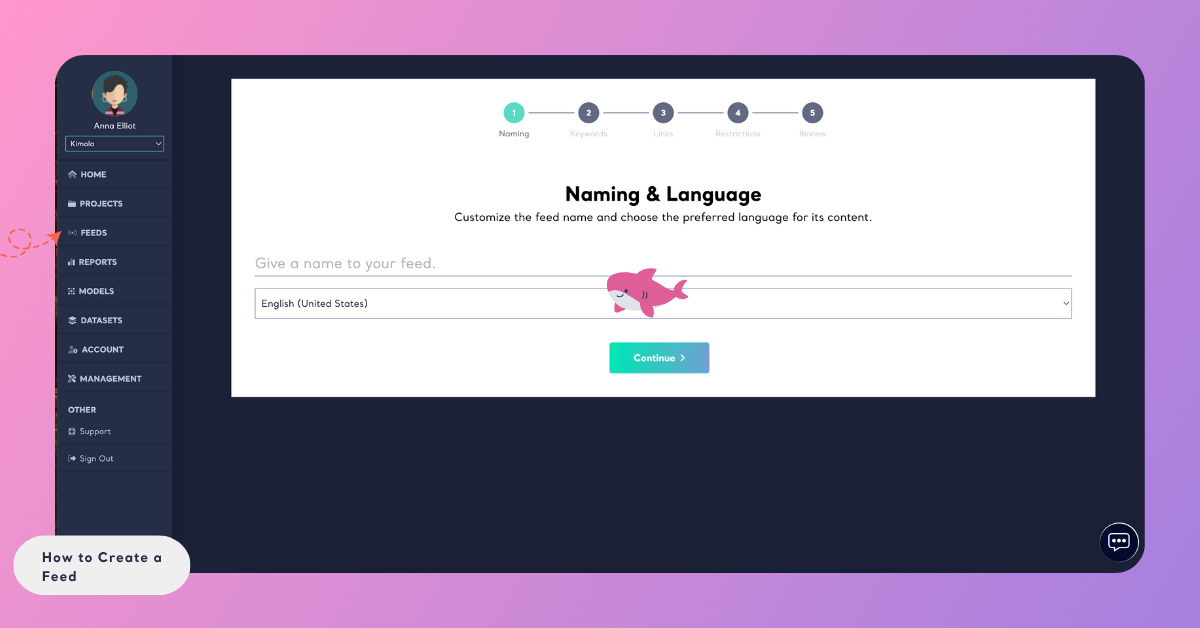
Step 1: Name Your Feed and Select Language Options
A window will open — begin by giving your feed a descriptive name that reflects its purpose. Then choose the language from which you want to collect data to ensure relevance and accuracy in your feed. Keep in mind that not every platform supports filtering by country. Some platforms only allow language-based collection, but whenever country information is available, Kimola uses it to bring local news and region-specific results into your feed.
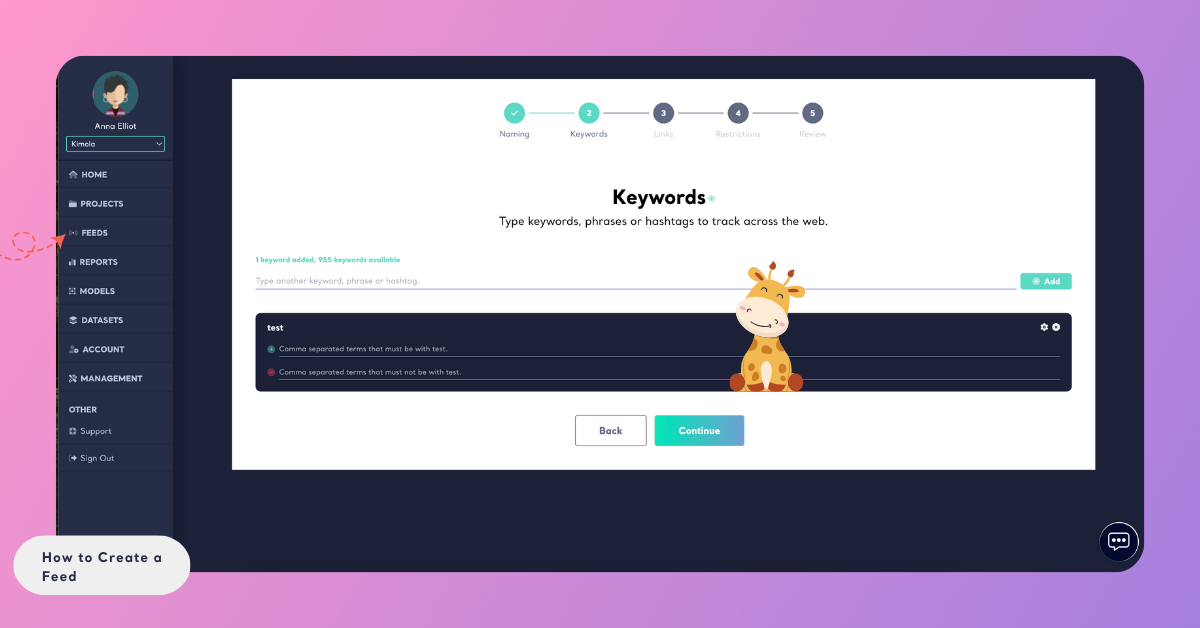
Step 2: Add Keywords
In the Keywords section, type the words, phrases, or hashtags you want to monitor, then press Enter or click the Add button.
Keywords are the terms that tell Kimola what kind of conversations to capture. They play a crucial role in helping your feed collect relevant discussions and opinions. By choosing the right keywords, you ensure your feed stays focused on the topics that matter most.
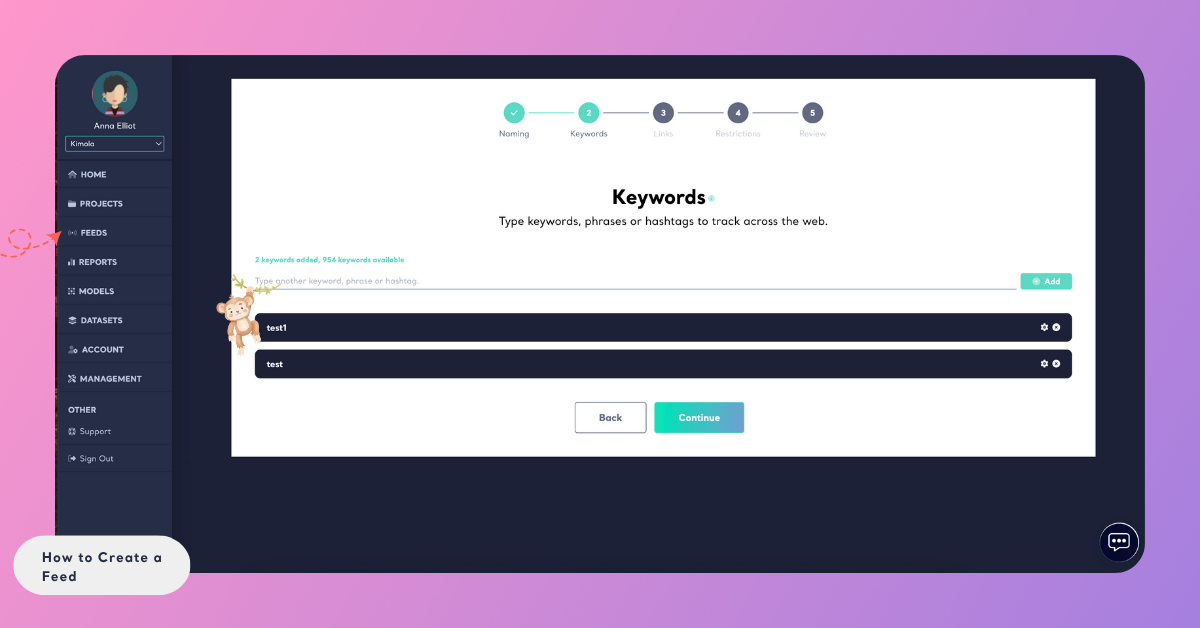
Establish primary keywords to guide the focus of your social listening. Enhance your feed's accuracy by adding "must include" or "must exclude" criteria through the settings icon next to each keyword entry. Use commas to separate different expressions within these settings. This approach not only refines your data but ensures it's clean and actionable by tailoring the feed to include or exclude specific content as needed.
Keywords can be applied across supported platforms such as Twitter (X), and news sites. For a full list, see Supported Platforms for Keywords.
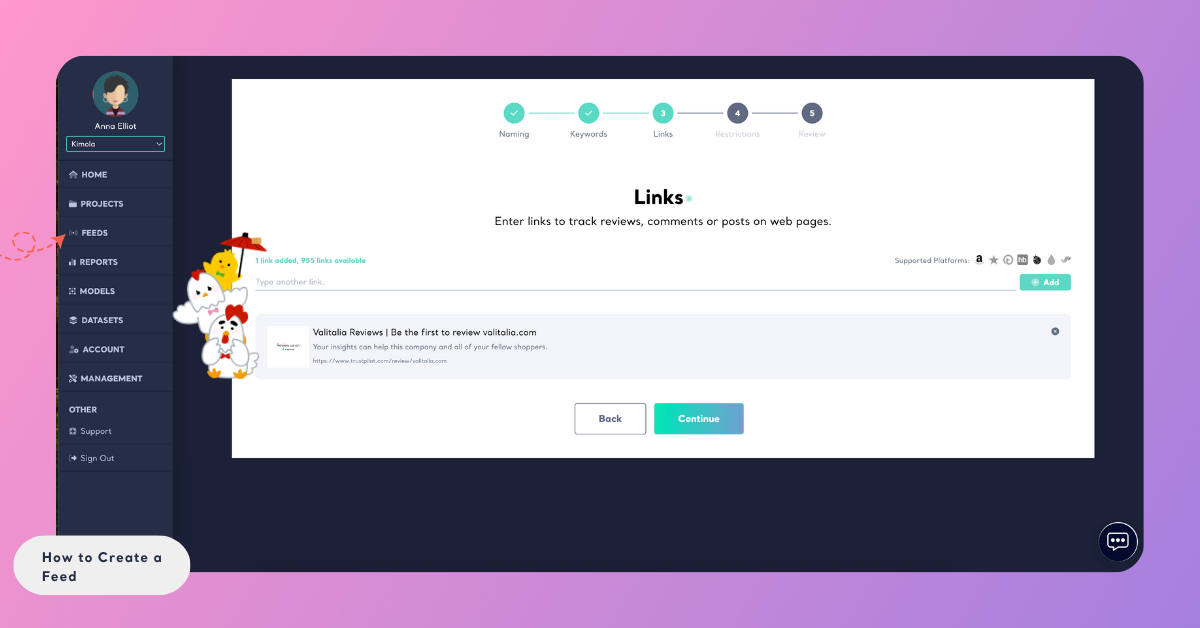
Step 3: Add Links
Enhance your feed by copying links from platforms Kimola supports, such as product links from e-commerce sites or forum entries, and press Enter or the Add button to add them to your feed. You can add multiple links using the same method.
Links define where Kimola should collect data from — for example, a product review page, a news site, or a forum discussion. For a full list of supported sources, see Supported Platforms for Links.
You can create a feed by adding only keywords or only links.However, if you skip steps 2 and 3 — meaning you don’t add any keywords or links — the feed cannot be created.
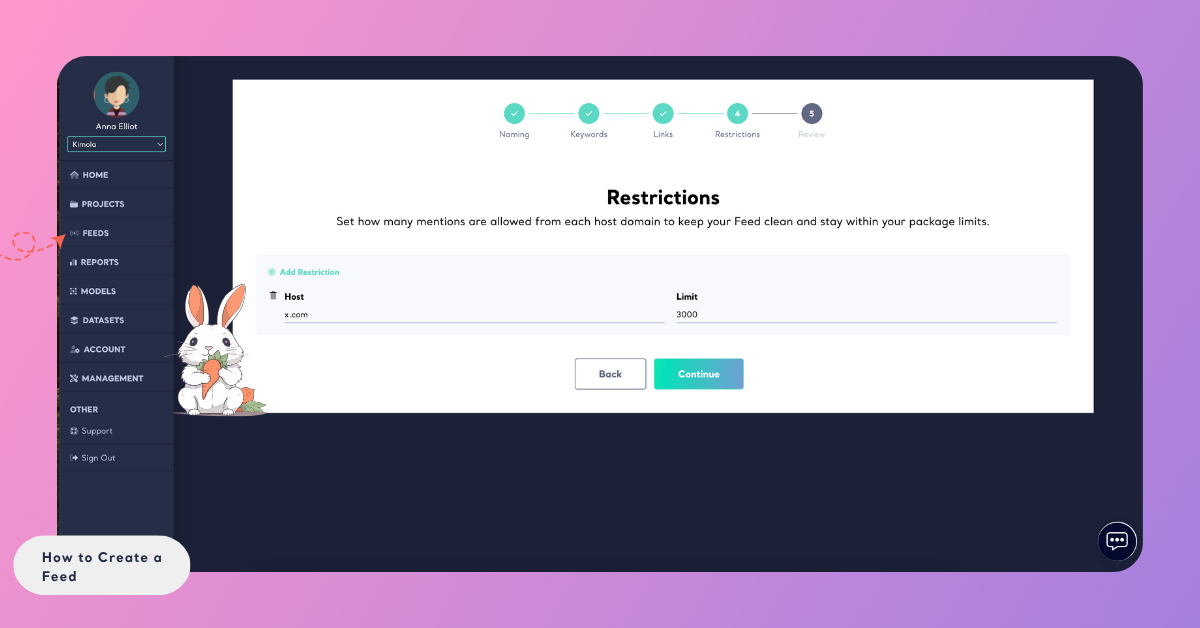
Step 4 (Optional): Set Restrictions
A restriction in Kimola is a rule that sets boundaries for data collection. It defines which domains Kimola should or should not collect data from and how many records can be gathered from each domain. By applying restrictions, you prevent a single source from overwhelming your feed and ensure your dataset stays clean, relevant, and balanced.
Step 5: Review and Create
Before finalizing your feed, you’ll see a Review screen showing the details you’ve entered (name, language, keywords, links, and restrictions).
At the bottom, the Usage section displays how many keywords and links this feed will consume from your package and how many will remain available.
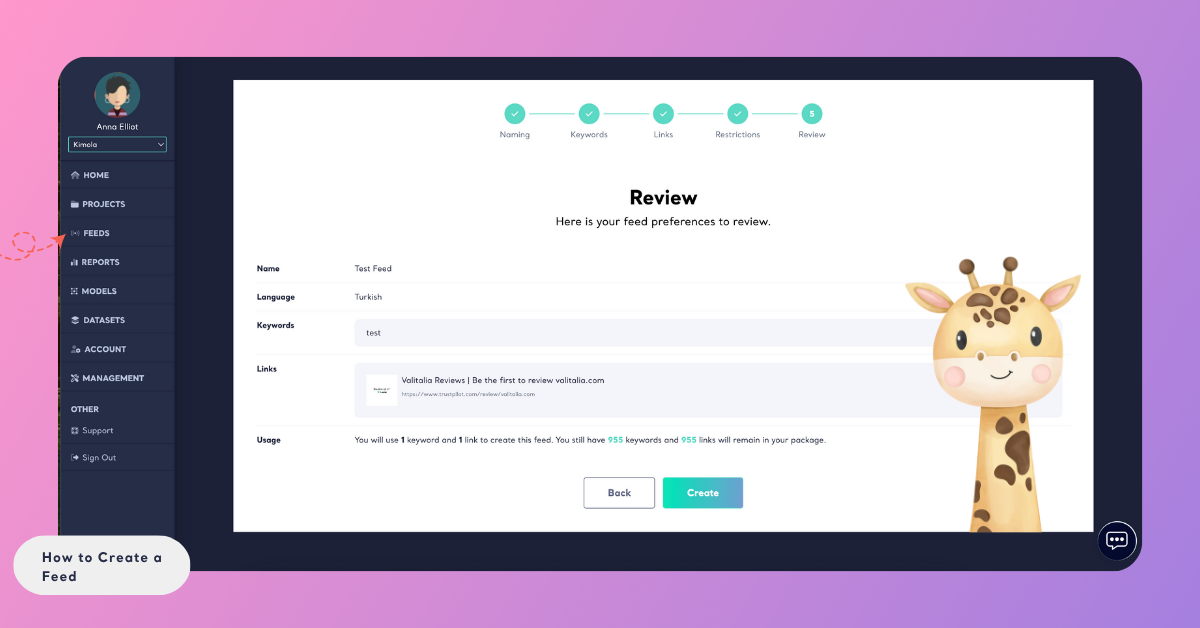
This helps you keep track of your plan usage and ensures you always know how many resources you have left for new feeds.
Click Create to finish and activate your feed. Once created, Kimola automatically begins collecting data based on your selections.
You can always edit your feed later to add or remove keywords, links, or restrictions through the Feed’s Settings page. For detailed instructions, see the Manage Feeds article.
Once your feed starts collecting data, you can move on to setting up alerts and mailings, exporting records, or analyzing results to stay continuously informed.