Save Filters in a Report
3 mins read - Updated on Dec 22, 2025When working with reports in Kimola, you can apply filters to focus on specific parts of your data—such as certain products, ratings, sentiments, themes, languages, or keywords. A report is where collected data is analyzed and presented with insights, and filters allow you to control which records are displayed during your analysis.
The Save Filters feature lets you store these filtered views so you can return to them later, reuse them consistently, or compare different data segments without reapplying the same filters each time.
If you’re new to filtering and want to learn how filters work before saving them, see Filter Records in Reports for an overview of available filter types and how to apply them.
This article explains how to save filters in a report, manage multiple saved views, and use them for faster analysis and comparison.
To save filters, you must:
- Be signed in to your Kimola account
- Open the report you want to work with from the Reports section
- Switch to the full analysis view, where filtering options are available
Why Save Filters?
Saving filters is useful when you want to:
- Revisit the same filtered view over time without reapplying filters
- Compare different segments of your data using consistent criteria
- Avoid repeating complex or multi-step filtering actions
- Review or share specific analysis views more efficiently
Saved filters also enable direct comparison between different data segments. By using the same filtering logic across multiple saved views, you can compare insights reliably instead of manually recreating filters for each comparison.
If your dataset includes reviews for multiple products with different ratings, you may want to focus only on 1-star reviews for a specific product. Instead of recreating this filter each time, you can save it once, reuse it whenever needed, and compare it with other saved filters—such as 5-star reviews or reviews from another product—to spot meaningful differences in themes or sentiment.
Apply Filters
Use the available filters (such as columns, themes, sentiment, language, or keywords) to narrow down the dataset to the exact records you want to focus on.
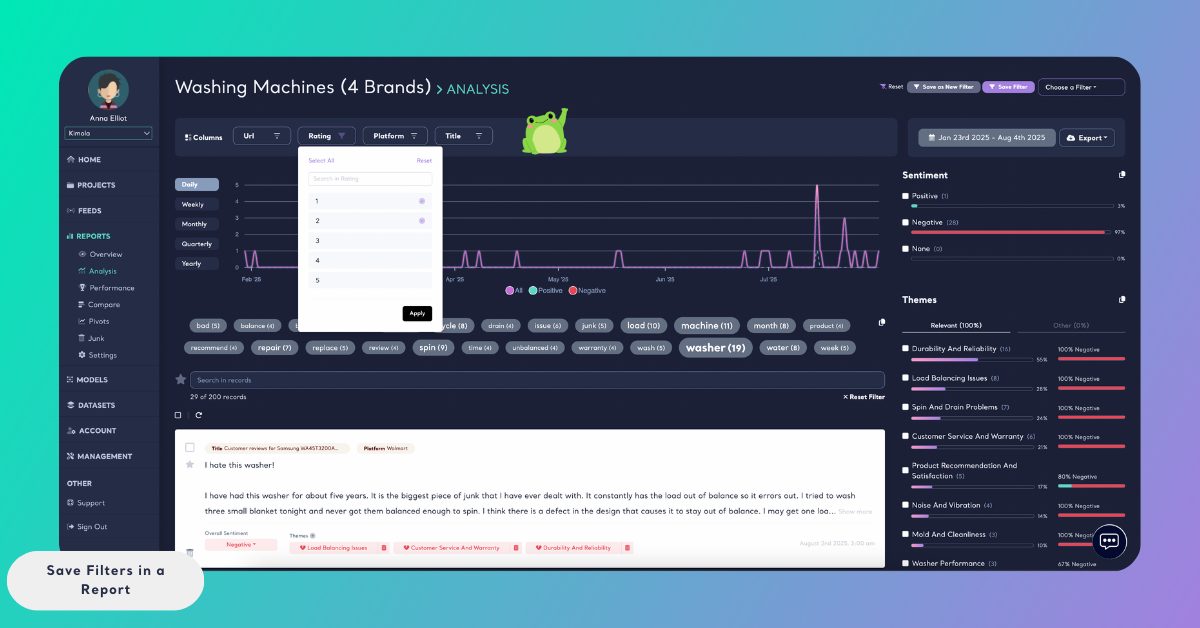
Save the Filter
Once your filters are applied:
- Locate the Save Filter button on the right side of the Analysis view
- Click it and enter a clear, descriptive name for the filter
- Save the filter
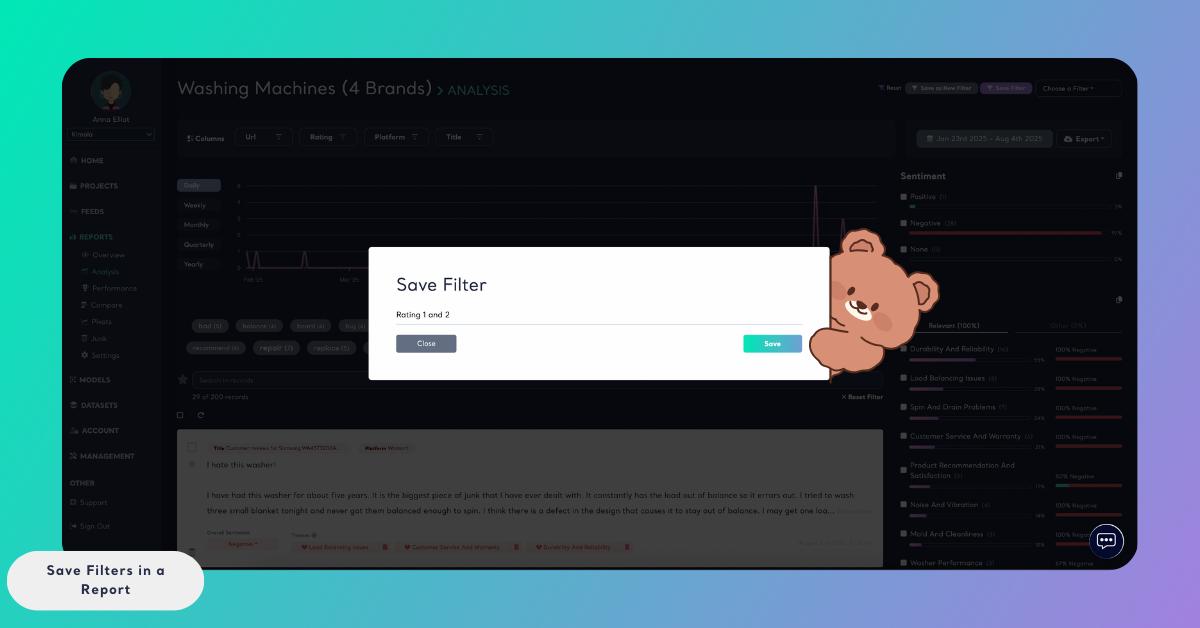
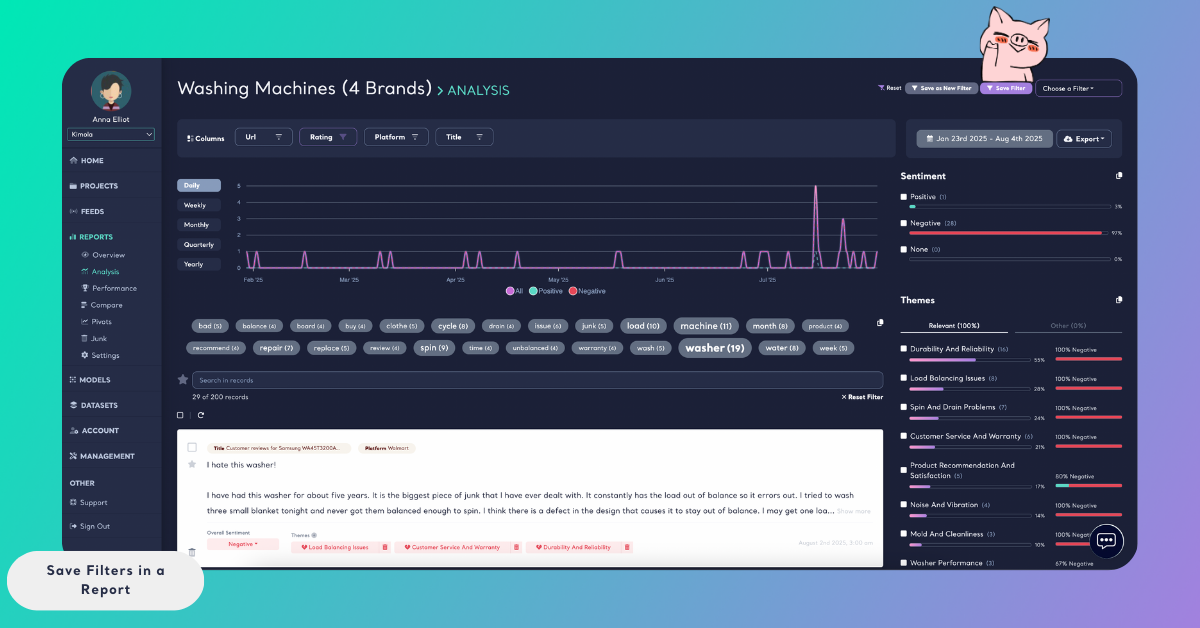
The saved filter now represents this specific view of the data and can be reused later.
Reset Filter
You can save more than one filter for the same report.
To create additional saved views:
- Click Reset to clear all active filters and return to the full dataset
- Apply a new set of filters
- Click Save Filter again and give it a new name
You can repeat this process as many times as needed to capture different data segments.
Using Saved Filters
- Saved filters can be accessed from the Analysis view to review each filtered dataset individually

- To compare multiple saved filters side by side, go to the Compare section from the left menu and select the filters you want to compare
This makes it easy to identify differences between segments, such as sentiment changes across products, ratings, or time periods.