Delete and Recover Records in Reports
3 mins read - Created on Mar 24, 2025While analyzing data in Kimola, you may want to remove records that are irrelevant, inaccurate, or outside the scope of your analysis. Kimola allows you to delete records safely without permanently losing data, so you can keep your reports—where analyzed data is presented in structured outputs—clean and focused, while still retaining the option to restore records later if needed.
In Kimola, a record represents a single data entry in your report—such as an individual customer review, feedback item, or row from your dataset. Deleting a record removes it from the active analysis but does not immediately erase it from the system.
This article explains how to delete records individually or in bulk, how deleted records are stored in the Junk section, how to recover them, and how to permanently remove records when they are no longer needed.
To delete or recover records, make sure you are signed in to your Kimola account. From the left-hand menu, open the Reports section and select the report you want to work with. Record deletion and recovery actions are available on the Analysis page within the report.
Delete Records Individually
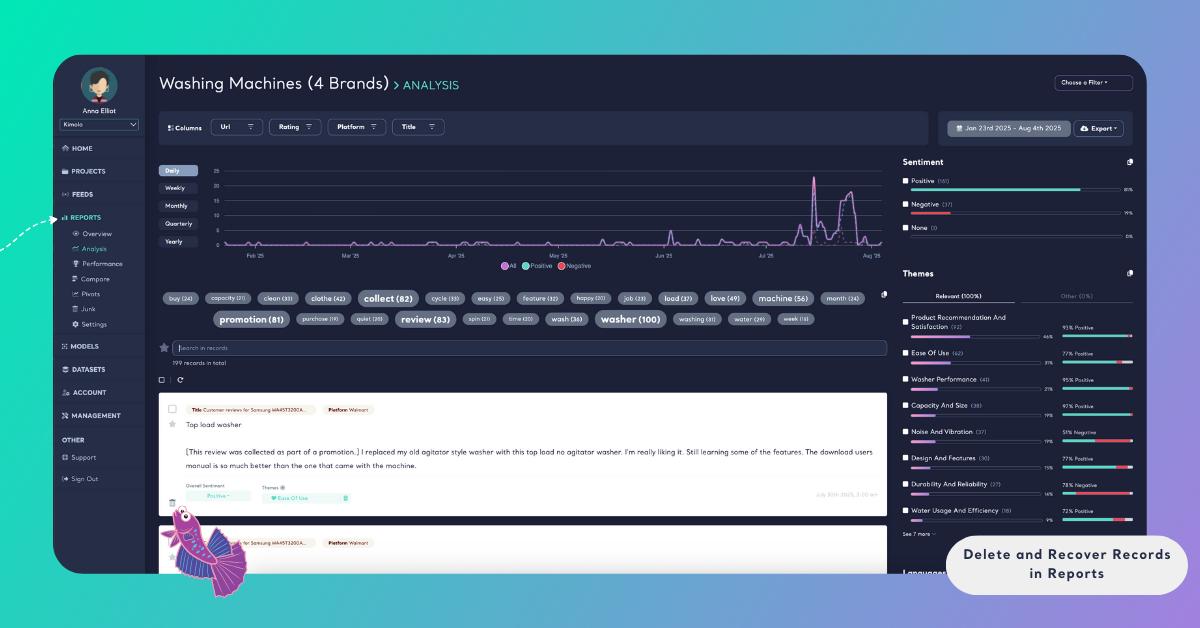
You can remove a single record directly from the report’s Analysis view. After opening the report and navigating to the Analysis page, locate the record you want to remove. Each record includes a trash icon at the bottom. Clicking this icon opens a confirmation dialog. Select Move to Trash to proceed, or choose Cancel if you want to stop the action. Once confirmed, the record is removed from the report view and moved to the Junk section, where it can be recovered later if needed.
Delete Records in Bulk
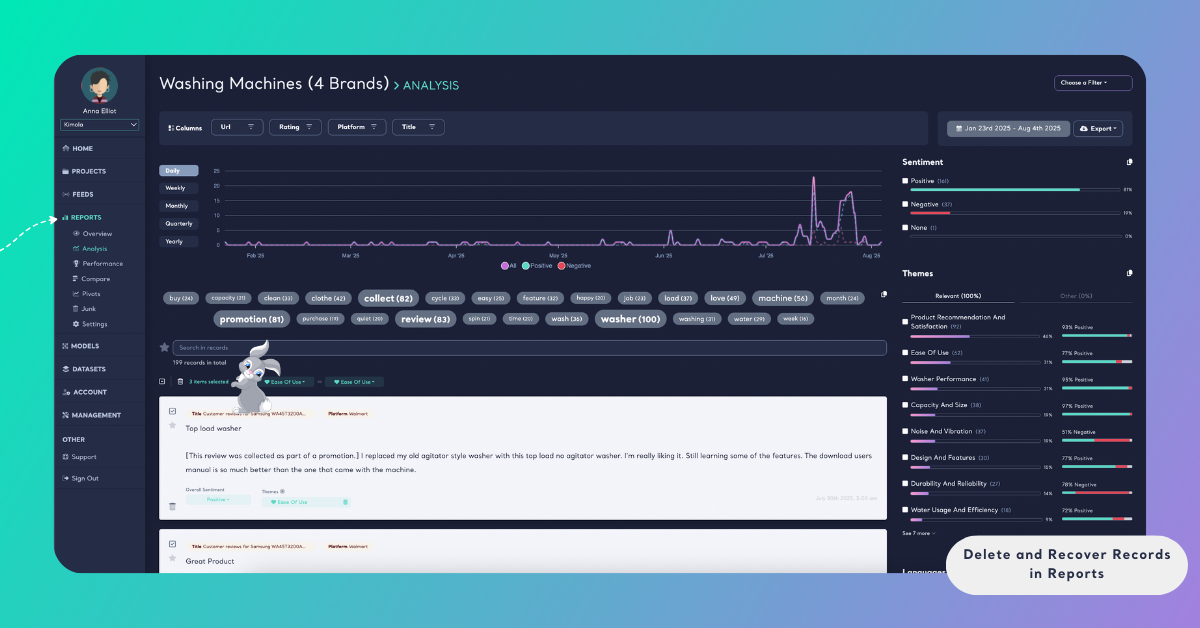
When you need to remove multiple records at the same time, Kimola allows you to delete records in bulk from the Analysis view. You can select records by using the checkbox located at the top-left corner of each record. As you make selections, the total number of selected records appears near the search bar. After selecting all relevant records, click the trash icon next to the selection counter and confirm by choosing Delete Items. If you change your mind, you can cancel the action. All selected records are then moved to the Junk section.
Recover Records
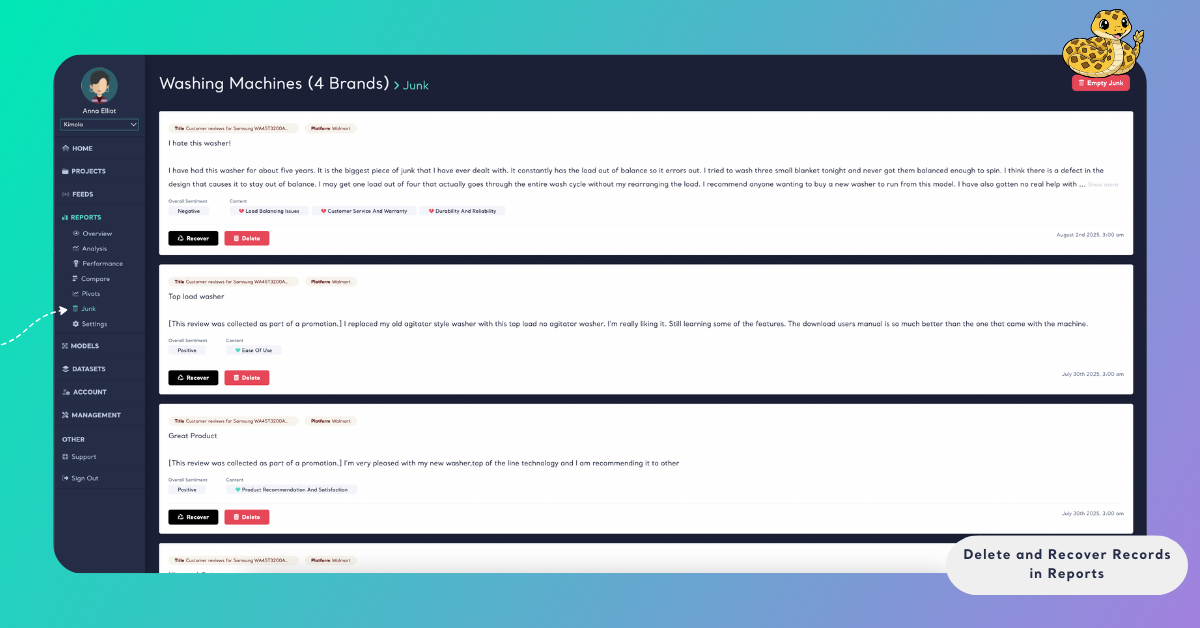
Records deleted from a report are not removed permanently right away. Instead, they are stored in the Junk section, allowing you to recover them if necessary. To restore a record, open the Reports menu from the left panel and navigate to the Junk section. Find the record you want to recover and click Recover, then confirm the action. Once restored, the record is added back to the report and becomes available again for analysis.

Permanently Delete Records from Junk
If you no longer need deleted records, you can permanently remove them from the Junk section. To delete a single record, click Delete below the record and confirm the action by selecting OK in the confirmation dialog.

If you want to remove all records from the Junk section at once, use the Empty Junk option located at the top-right corner of the Junk page. This action permanently deletes all items in Junk and cannot be undone, so make sure you no longer need these records before proceeding.
Managing deleted records through the Junk section helps you keep your reports clean while providing a safety net against accidental data loss.