Export a Report as Excel File
3 mins read - Created on Feb 20, 2025Efficiently managing and sharing your analysis results is essential, and exporting your Kimola report as an Excel file is an excellent way to do just that. Excel files are widely recognized and used in various industries, making them the perfect format for in-depth data analysis, collaboration, and presentation of your insights. In this guide, we'll walk you through each step to seamlessly export your Kimola report as an Excel file, ensuring you have all your valuable data at your fingertips, ready for deeper exploration or to wow your colleagues with detailed findings! Follow these steps to efficiently export your report:
Step 1: Access Your Report
- Log in to your Kimola Account and navigate to the "Reports" page on the dashboard.
- Locate a report you wish to export.
- Click on the report's title, icon or "View" button to open it.

-!:tip
If you're looking to export your report to Excel more quickly without navigating to the analysis page, you can download each report directly from the Reports page. Simply click on the arrow next to the view button on the right and select Excel as the report format.
tip:!-
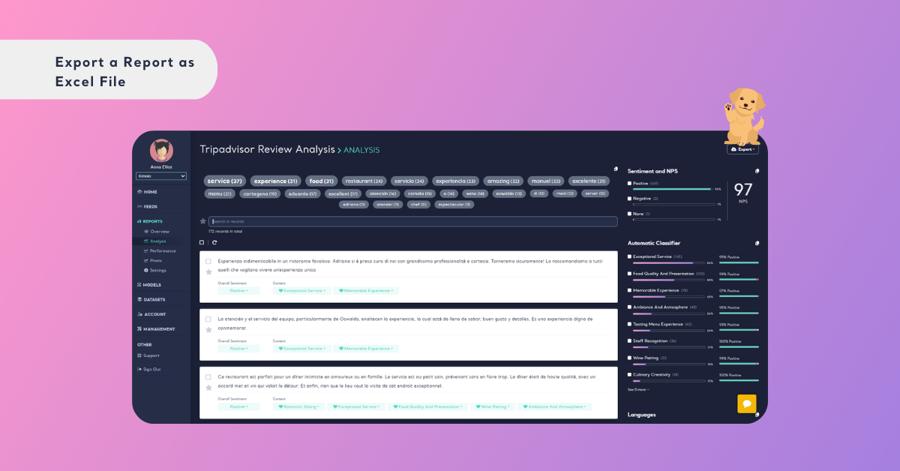
Step 2: See Full Analysis
- To proceed with exporting, ensure you have access to the full analysis.
- Use the "See Full Analysis" button located in the upper right corner of the screen, or navigate to the analysis page under the reports menu on the left panel. This will take you to the detailed view of your report where you can initiate the export process.

Step 4: Initiate Export Process
- Once you are on the analysis page, click on the export dropdown menu located at the top right of the screen.
Step 5: Select File Format
- In the export options, choose "Excel" as your desired file format. This ensures your report is exported in a compatible format for Microsoft Excel.

Step 6: Download the File
- After a brief processing time, the Excel file will be ready for download. Depending on your browser settings, the file may automatically download to your default downloads folder, or you might be prompted to specify a location to save the file.
Step 7: Apply Filters to Your Report
- To export your report with particular filters, begin by setting the filters you want on your report.
- Then, click the export button and choose your preferred format for the report.
- In the ensuing pop-up window, opt for the "apply current filter" option to retain those filters in the exported report. If you’d rather export the report without any filters, just select "Download without a filter."

Step 8: Open and Use Excel File
- Locate the downloaded file on your computer and open it using Microsoft Excel or any compatible spreadsheet application to review and manipulate your data as needed.
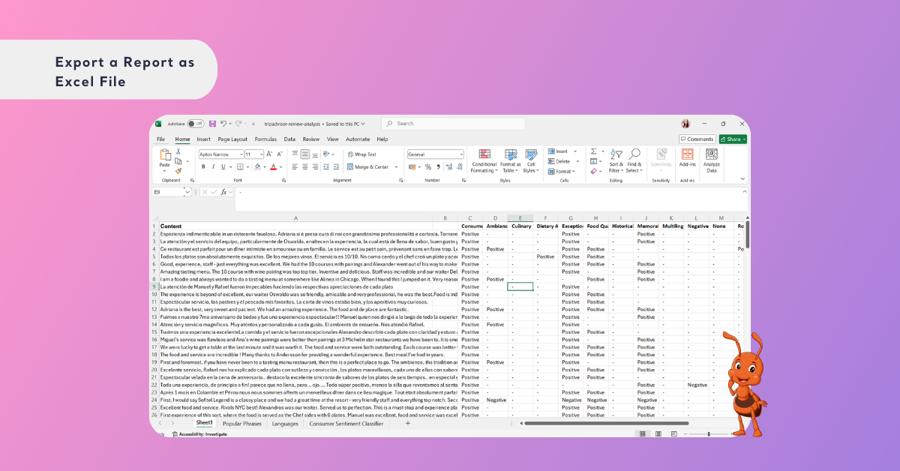
By following these steps, you can easily export your Kimola reports as Excel files, making it simple to further analyze your data or share insights with your team. Enjoy the flexibility and convenience of working with your data in a widely-used format like Excel!