Create a Custom Model with a Prompt
3 mins read - Created on Oct 14, 2025Creating a custom model with a prompt allows you to classify data without preparing a full training dataset. By defining clear labels and descriptions, your model can understand categories and classify new content accurately. Follow this guide to set up a prompt-based model in Kimola.
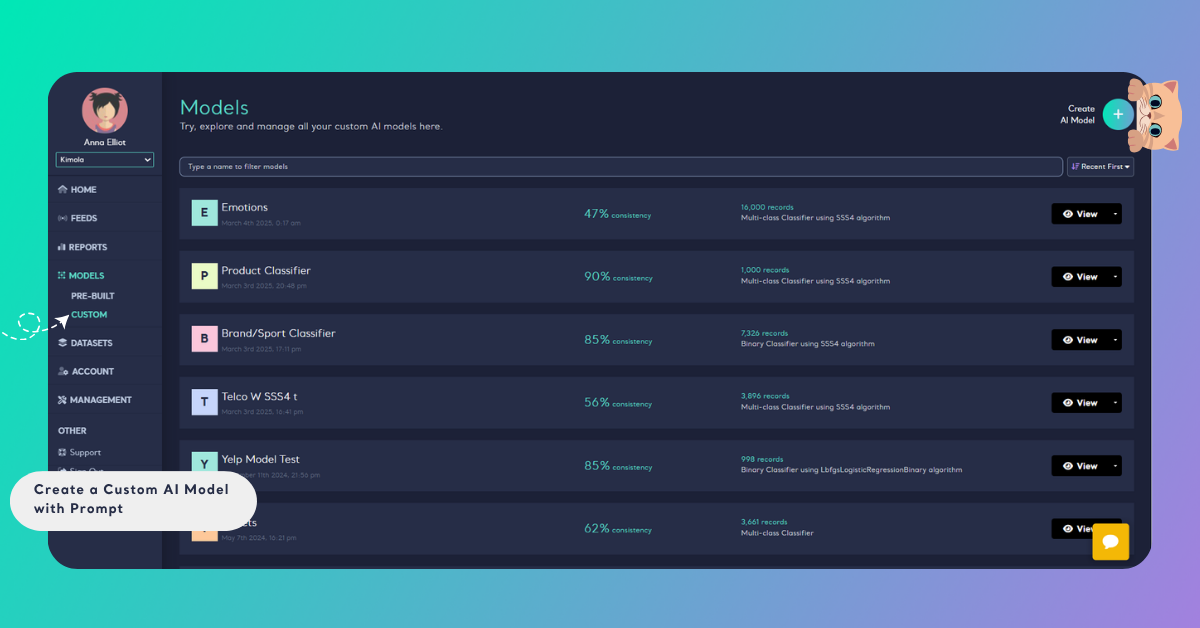
To begin, sign in to your Kimola account and open your dashboard. From the left menu, click Models to access the Models page. On this page, select Create AI Model at the top right corner and choose By Prompt to start building your model.
Step 1: Prepare Your Labels & Descriptions
Even without a dataset, your model needs structure. Start by defining the categories your model should recognize. Open a spreadsheet and start typing your labels and a clear description for each of them. This helps the model understand what content belongs to each category. Ensure label names and descriptions match — consistency matters.
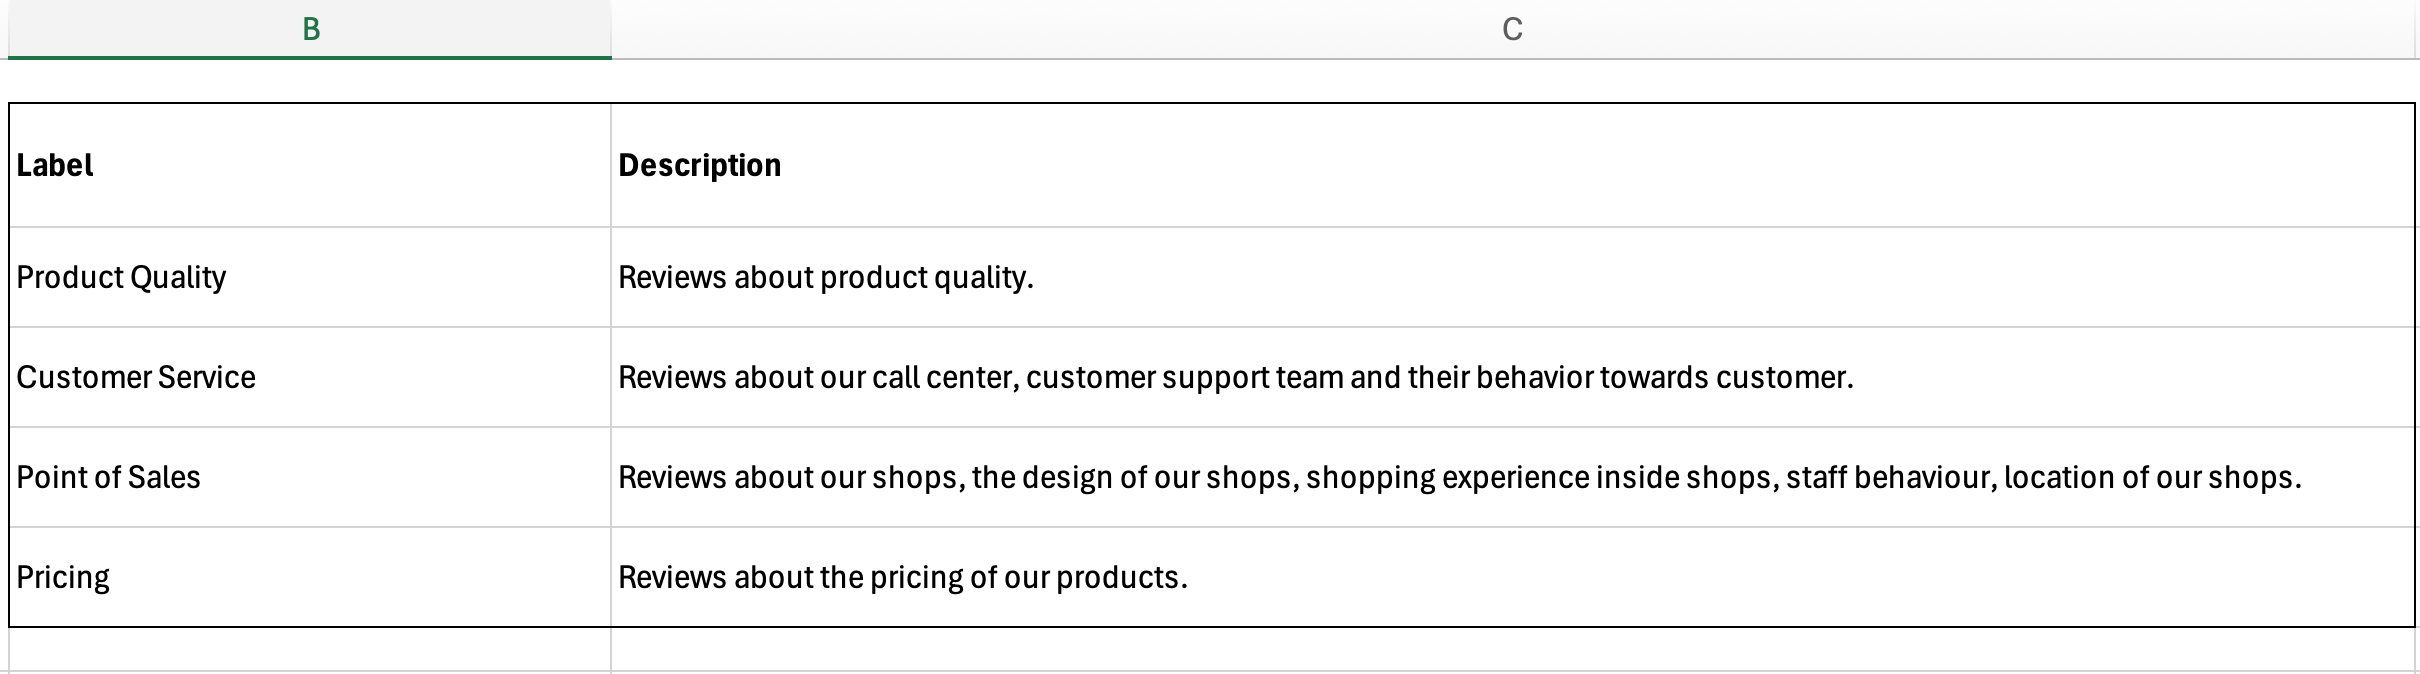
- Keep labels neutral — avoid positive or negative wording.
- ❌ Wrong: "Quality is bad" / "Quality is good"
- ✅ Correct: "Quality"
- Focus on aspects; Kimola’s sentiment engine will automatically detect positive or negative context.
- Focus on aspects and themes rather than opinions.
- For optimal accuracy, define no more than 25 labels.
- Clear, concise descriptions improve model performance.
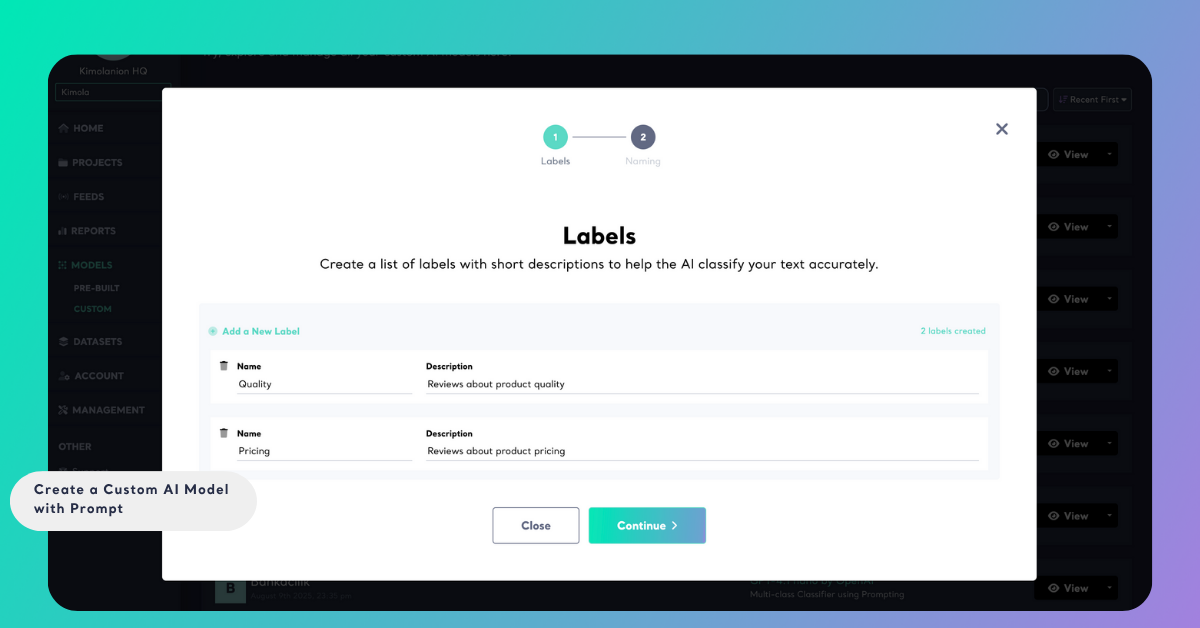
Step 2: Enter Labels and Descriptions
On the Labels screen, create the categories your model will use to classify text. Each label should have a short, clear name and a brief description that explains what kind of content belongs to it. These descriptions help the AI understand your labeling logic more accurately.
To add a label, click Add a New Label and fill in both the Name and Description fields. You can add as many labels as needed — for example, Pricing, Delivery, or Customer Support. When you’re done defining your labels, click Continue to move to the next step.
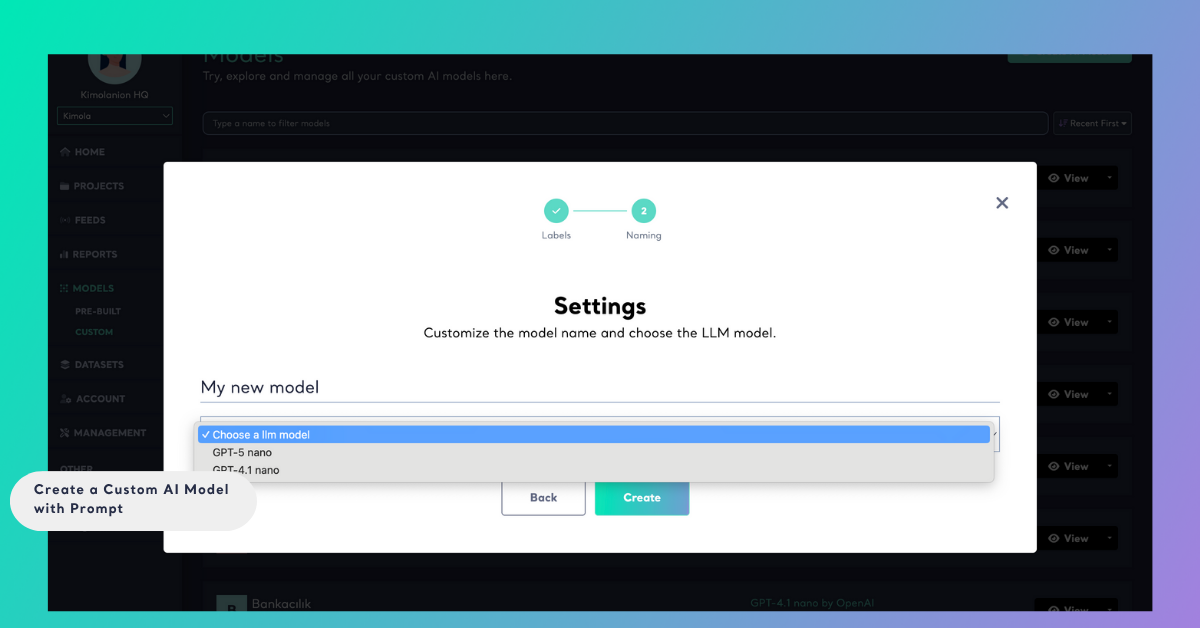
Step 3: Name your Model and Choose your LLM
Kimola builds its custom models on OpenAI technology.
- Choose the newest model if you’re creating a custom model for the first time.
- Choose the same model if you’re rebuilding, to maintain consistency in your reports.
Step 4: Click Create
Once the training is finished, you will get an e-mail. Now, when you analyze any dataset, you're ready to use your custom AI model to classify data with the labels you want.
Step 5: Use Your Model to Analyze Data
If your model is ready, now it's time to use it. Learn how to use it by reading this article.