Manage Mailings
3 mins read - Updated on Oct 09, 2025Mailings are automated emails that deliver feed updates directly to your inbox. By managing mailings, you decide what content is included, how often it’s sent, and who receives it.
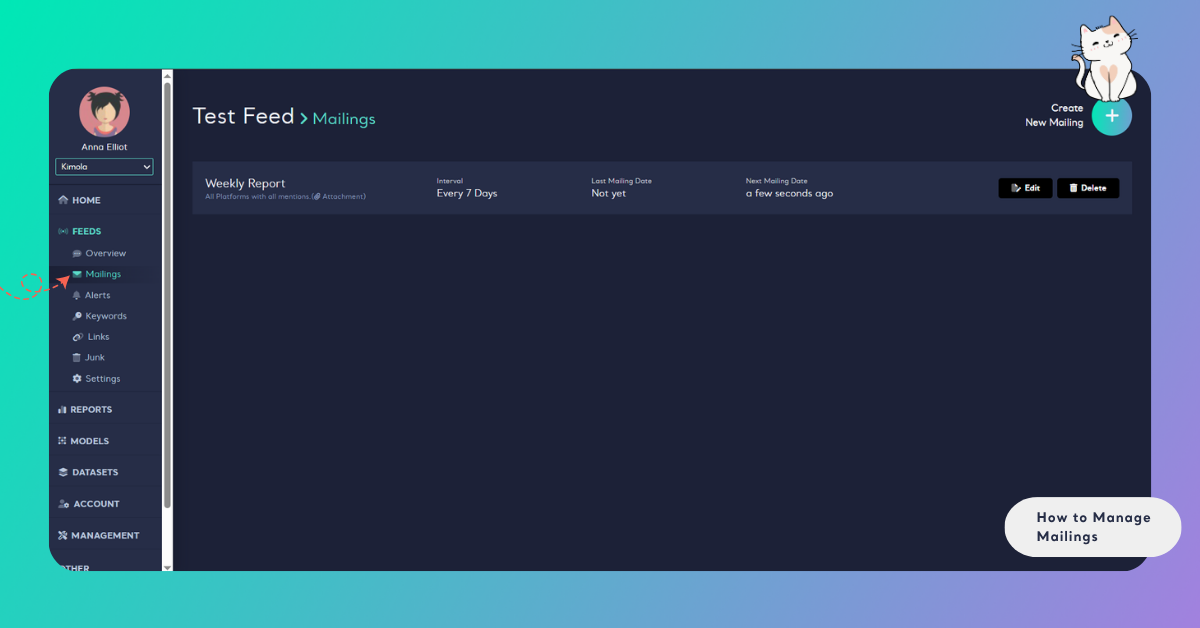
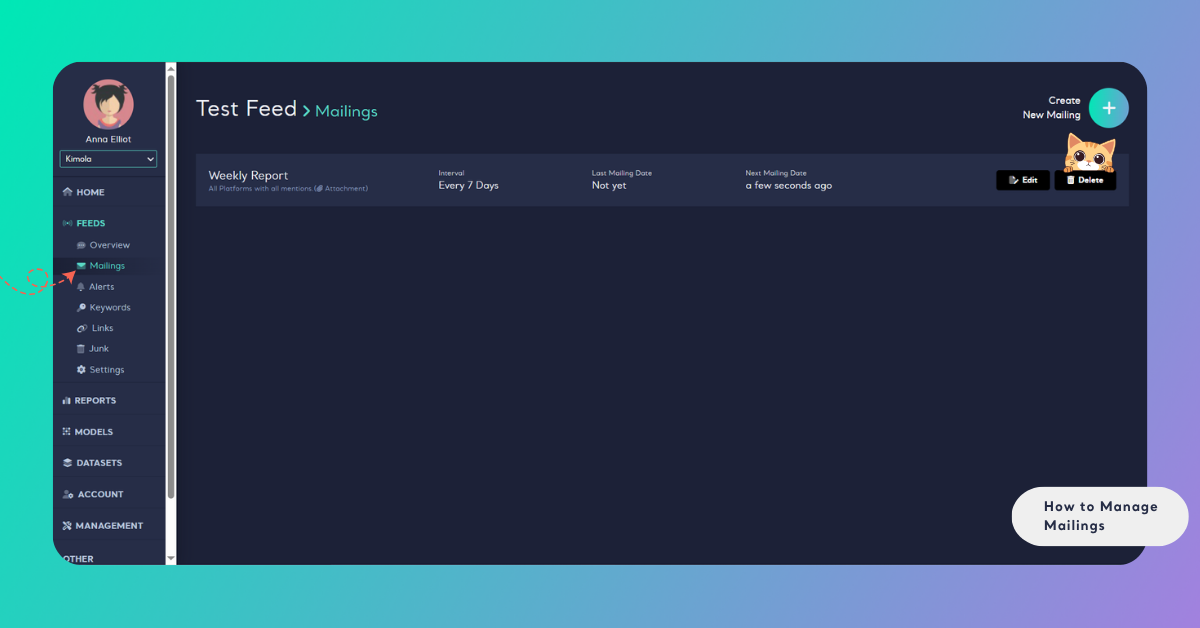
Sign in to Kimola account, go to the Feeds menu, select a feed, then open Mailings from the left panel. Start a new mailing or add another if a mailing already exists.
Create a Mailing
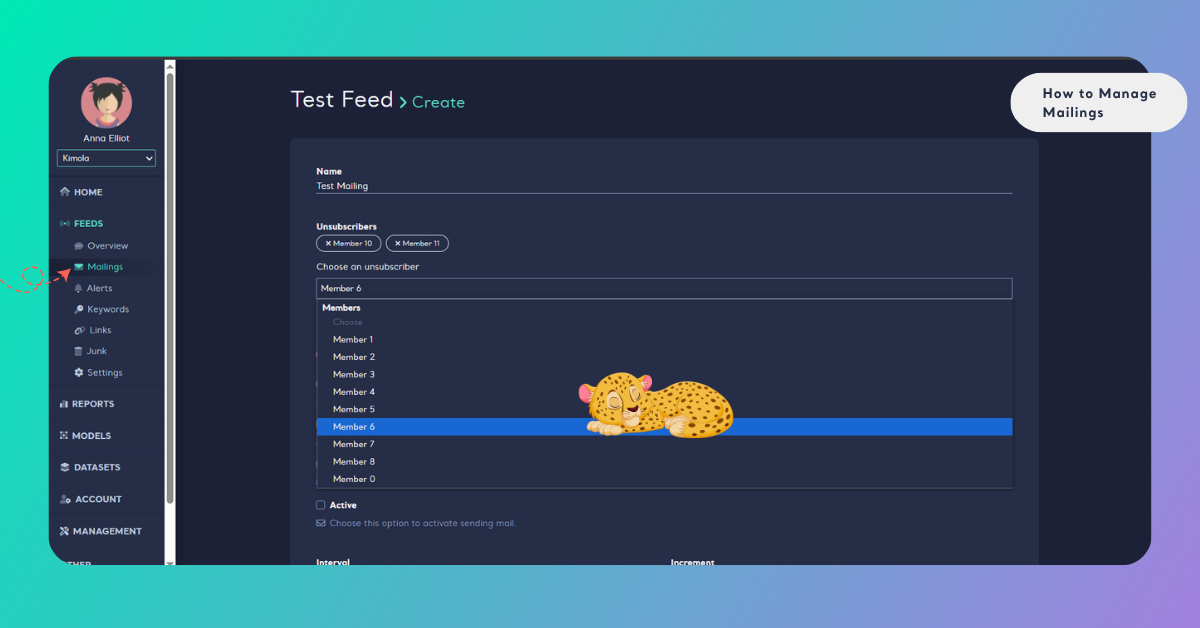
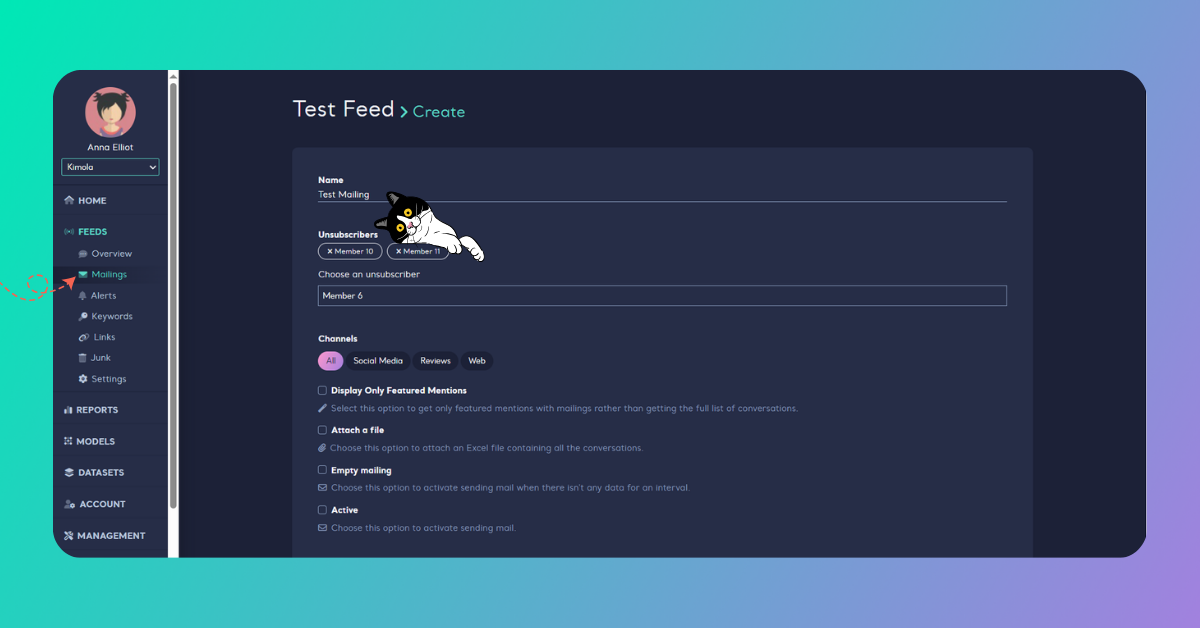
Customize Mailing:
- Name the mailing – Give it a clear name so your team understands its purpose (this name won’t appear in the email).
- Choose Unsubscribers – If necessary, select the recipients who should not receive these emails.
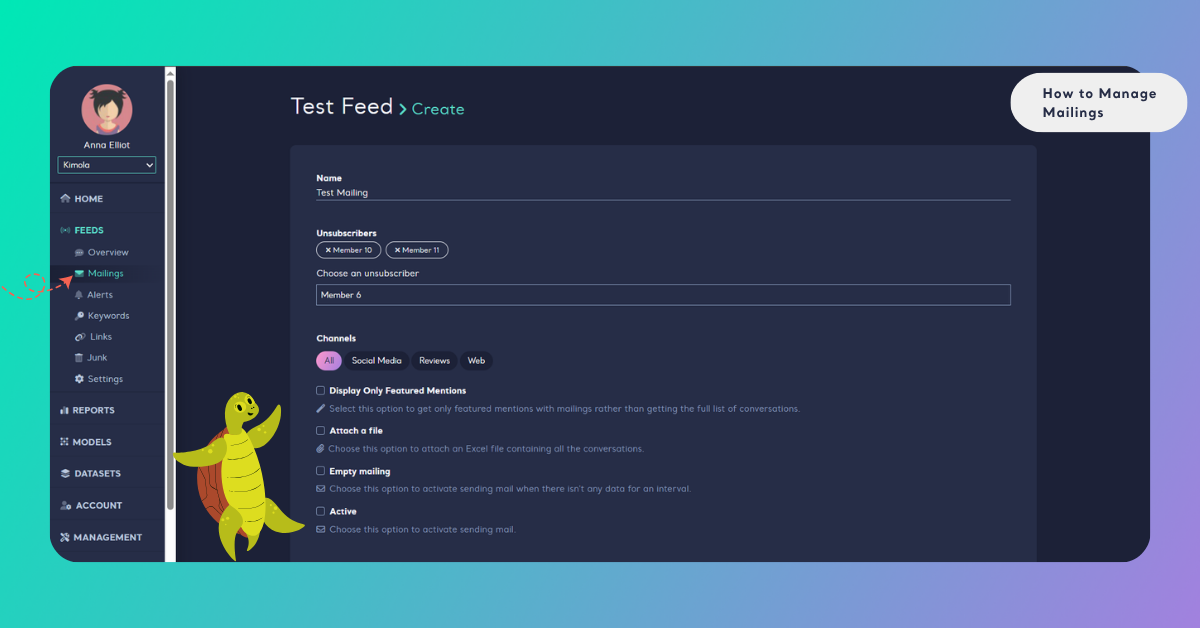
- Select Platforms:
- All: Choose this to receive all content, including tweets and news.
- News: Select this to receive only news content.
- Checkbox Options:
- Show Only Featured Mentions: Opt to receive just the highlighted mentions in emails rather than the entire conversation list.
- Attach File: Attach an Excel file containing all conversations by selecting this option.
- Empty Mailing: Enable this to send an email notification even if there isn’t any data for the specified interval.
- Set Your Interval and Start Date – Choose your desired interval (minutes, hours, or days) and specify the increment (up to 30). Select your start date and click "Apply."
For best results, we recommend daily mailings if you want a regular digest of activity, and weekly mailings if you prefer broader summaries.
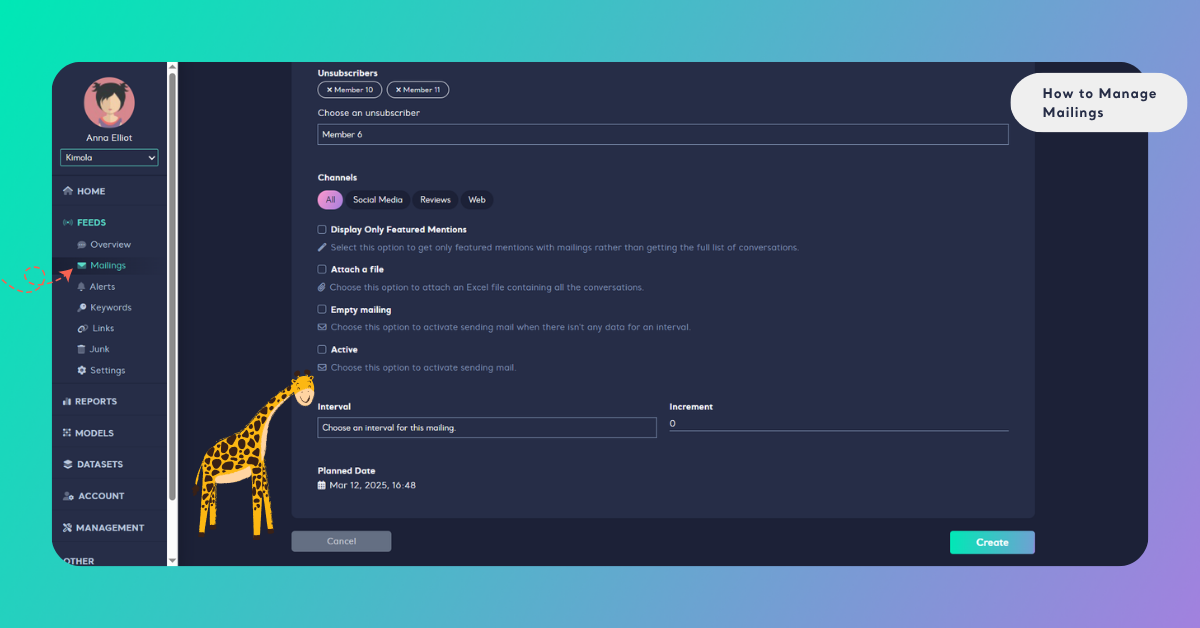
Finalize or Cancel Your Mailing – If you’re happy with your selections, click "Create" to set up your mailing. To cancel, simply click "Cancel" to abort the process.
Edit a Mailing
After entering the relevant feed, access the mailing page where all created mailings are listed.
Locate the mailing you wish to edit and click the edit (pencil) icon beside it. Make your changes, then click "Save" or "Save & Close"
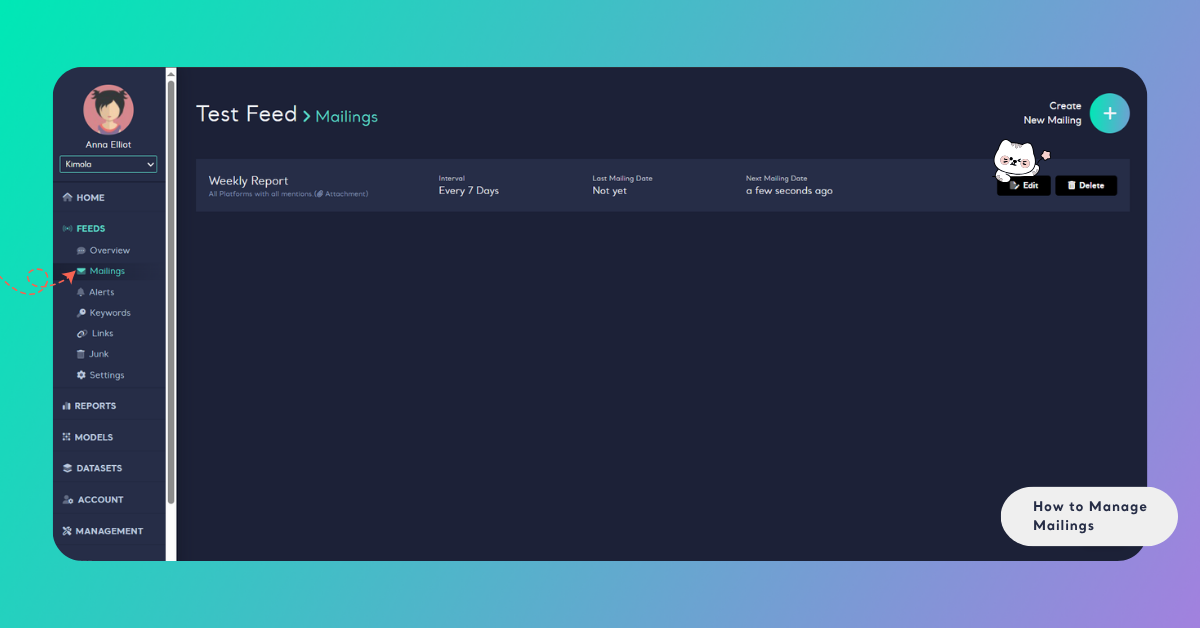
Delete a Mailing
Click the delete (trash can) icon next to the edit icon. Confirm by clicking "I'm sure, delete!" To cancel the deletion, click "Cancel."
You can create separate mailings for each feed, allowing for tailored notifications on different topics.
If You Don't Get Any Mail
If you're not receiving emails from Kimola, follow these steps:
- Check Mailings Make Sure They Exist
Login to Kimola and navigate to your dashboard. Go to the Audiences menu, find Mailings, and if none exist, you may need to create one for updates.
- Check Your Unsubscribe Status
If mailings exist, ensure you haven't unsubscribed by checking your name in the "Mailings" section of your feed.
How to Resubscribe?
Open the feed’s mailing settings, remove your name from the “Unsubscribers” section by clicking the cross, then click "Save" or "Save & Close".
By managing mailings effectively, you ensure seamless monitoring of your selected content and enhance your team’s ability to stay informed and respond promptly.